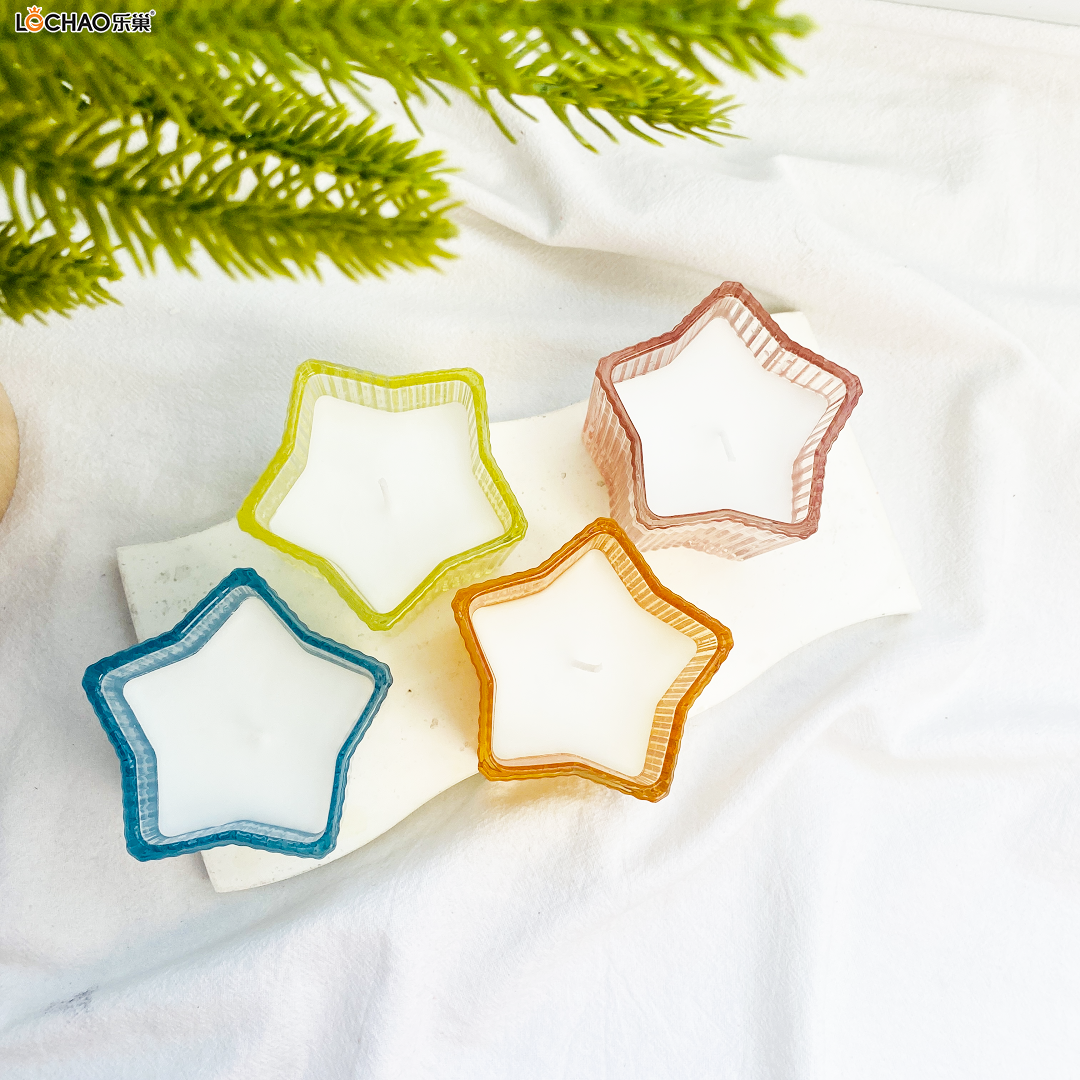
The first burn of a scented candle is crucial, arguably determining the quality of its entire lifecycle. A good first burn ensures a smooth and clean burn, avoiding the common problem of "memory rings"
(tunneling, where the candle burns only around the wick, leaving a ring of unmelted wax).
Here are the key tips for first-time scented candle use. Be sure to follow them:
Golden Rule: Ensure the first burn is long enough.
This is the most important and crucial rule!
· Goal: The candle should be completely melted, forming a smooth pool of wax that extends all the way to the edge of the container.
· Time: This typically takes 2-3 hours, or even longer, depending on the candle's diameter. Don't burn it out midway because you think it's taking too long.
· Why? Wax has a "memory." If the first burn doesn't cover the entire surface, the next burn will be confined to the area where it melted the previous time, creating an unsightly "memory ring." This not only wastes wax but also weakens
the candle's aroma.
Other Important Notes (in order of use)
1. Trimming the Wick
· When: Trim before each lighting.
· Length: Trim the wick to approximately 0.5-0.8 cm.
· Why? Excessively long wicks create an overly large, unstable flame, produce black smoke, and cause the candle to burn too quickly, blackening the sides of the container. A dedicated wick cutter is the best tool, but ordinary scissors
will also work.
2. Location
· Safety: Place the candle on a stable, heat-resistant, non-flammable surface away from children, pets, drafts, and flammable objects (such as curtains and paper).
· Spacing: If lighting multiple candles simultaneously, keep them at least 10 cm apart to prevent them from heating each other and affecting the burning pattern.
3. Avoid using candle caps to extinguish flames
· Do not use the candle cap that comes with the candle to extinguish the flame during the first burn. When the cap is on, the high-temperature steam inside will condense on the candle's inner wall, potentially
affecting subsequent combustion and the purity of the aroma. · The Right Way: Use the wick dip method or a candle snuffer.
· Wick dip method: Use a candle snuffer or any non-flammable tool to gently push the wick down and dip it into the wax, then straighten it. This is the most professional and smokeless method.
· Candle snuffer: Cover the wick like a small bell, isolating it from oxygen and extinguishing the flame without producing smoke.
4. Allow the candle to cool and solidify naturally
· After extinguishing the candle, do not move it; let it cool naturally.
· Before the wax has completely solidified, you can gently straighten the wick to prepare it for the next use.
· Cover the candle to prevent dust from entering.
To summarize, the perfect process for using a scented candle for the first time:
1. Check: Make sure the candle is placed on a safe, stable, heat-resistant surface.
2. Trim: Use wick cutters to trim the wick to 0.5-0.8 cm. 3. Lighting: Use a long-handled lighter or a match to light the candle safely.
4. Patient Burning: Allow the candle to burn until a uniform pool of wax forms across the entire surface (usually 2-3 hours). This is the most critical step!
5. Safely Extinguish: Use the wick-dipping method or a candle extinguisher to extinguish the candle, avoiding blowing it out (which can produce white smoke and an unpleasant odor).
6. Storage: When the wax pool is partially solidified, straighten the wick. Once completely cooled, cover and store.
Follow these steps, and your scented candle will consistently provide the best light and fragrance experience, offering exceptional value for money! Wishing you a wonderful scented candle experience.

